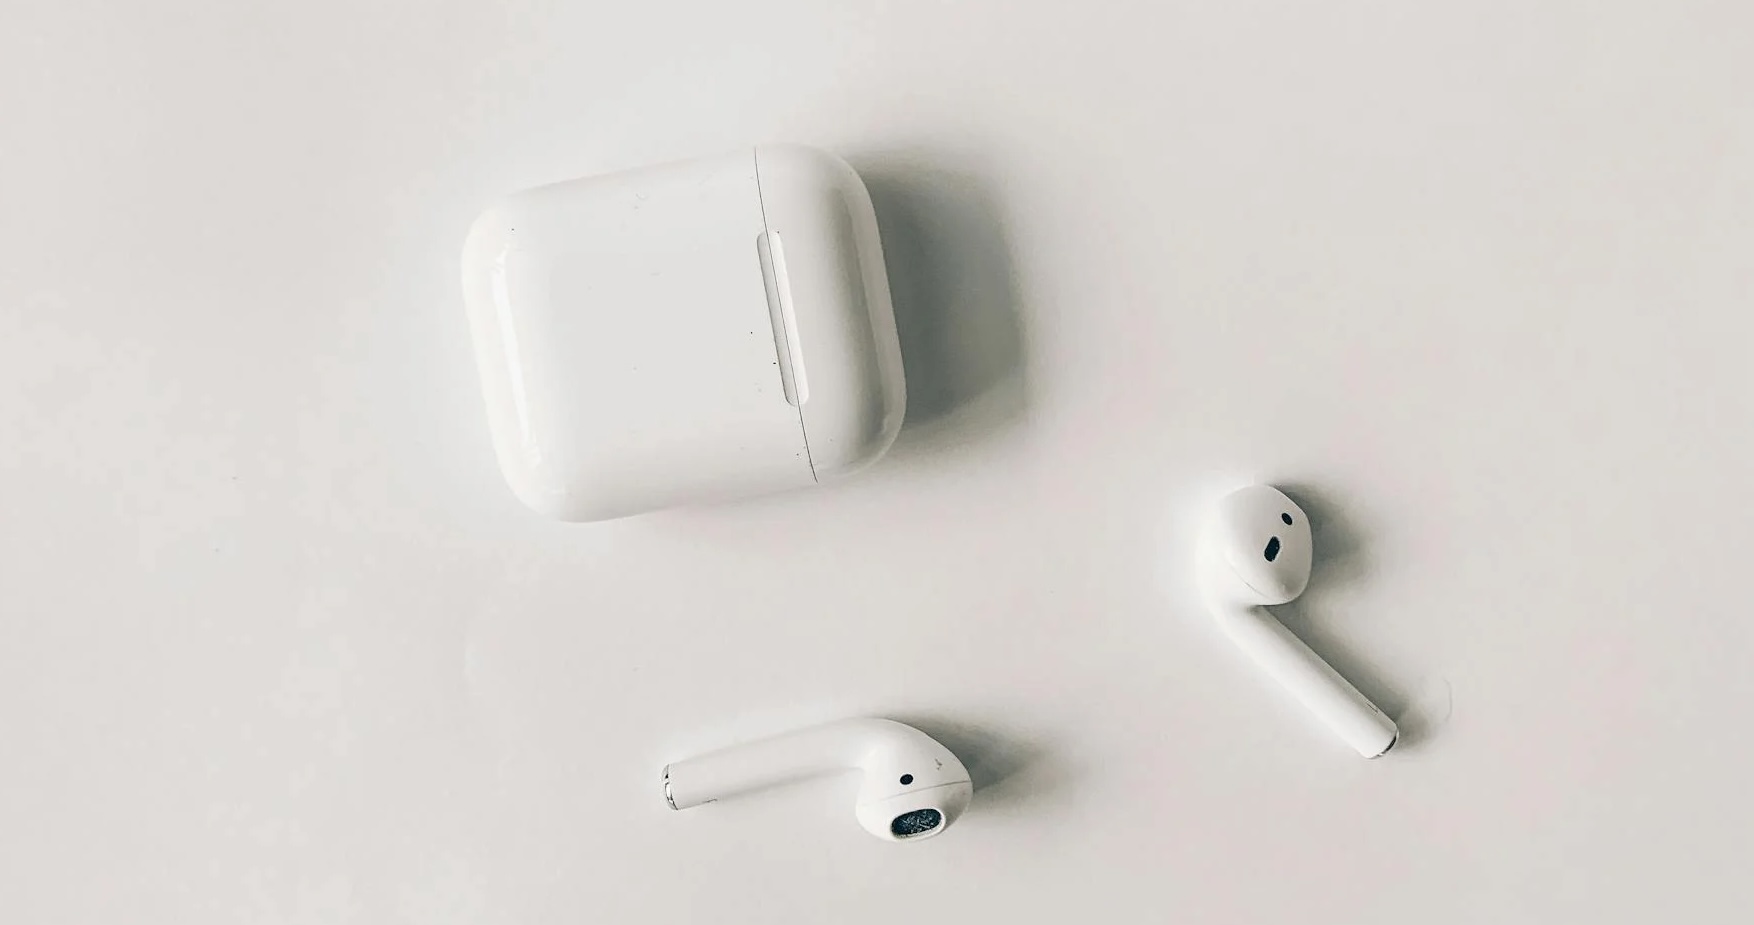
Apple's AirPods are among the most commonly used headphones globally, making it essential for music…

Studio Monitor Calibration for Optimal Monitoring
Achieving accurate sound in your studio starts with proper studio monitor calibration and subwoofer setup. Whether you’re a seasoned audio engineer or just starting, understanding how to calibrate your monitors and subwoofer can make a world of difference in your mixes. In this guide, I’ll walk you through the steps to optimize your studio’s sound, from speaker placement to subwoofer blending, and discuss how tools like SoundID Reference can help fine-tune your room once your monitors are calibrated.
The Best Place to Set Up Your Speakers
Proper placement is the foundation of good sound. To begin, position your studio monitors at ear level, forming an equilateral triangle with your listening position. This means the distance between the monitors should be the same as the distance from each monitor to your ears. Ideally, your monitors should be at least a foot away from walls to avoid reflections that can color the sound.
For your subwoofer, placement is crucial to ensure that low frequencies blend seamlessly with your main monitors. Start by placing the subwoofer in front of you, ideally on the floor between the two monitors. Experiment with moving it slightly closer or farther away from walls to find the spot where the bass is most even and not overpowering.
Calibrating Left and Right Speakers
Once your monitors are in place, the next step is to calibrate them. Use a sound level meter or a reliable calibration tool to ensure both the left and right speakers are outputting sound at the same volume. This step is crucial for achieving a balanced stereo image, where no side is louder than the other.
Start by playing a pink noise signal through each monitor individually, measuring the sound pressure level (SPL) at your listening position. Adjust the monitor’s volume or the output levels in your audio interface until both speakers are matched perfectly. This will help you achieve an accurate and consistent listening experience.
Blending in the Subwoofer Level
A well-integrated subwoofer adds depth to your sound without overwhelming it. To blend the subwoofer with your main monitors, start by setting the subwoofer’s crossover frequency to the recommended value based on your monitors’ specs—typically around 80Hz.
Next, play a test tone or a bass-heavy track and gradually increase the subwoofer’s volume until it complements the monitors without overpowering them. The goal is to make the bass sound full and natural, not boomy or detached from the rest of the mix.
Getting the Phase Right
Phase alignment between your subwoofer and monitors is essential for preventing phase cancellation, which can cause certain frequencies to become less audible or even disappear. Many subwoofers come with a phase adjustment knob or switch. To check for phase issues, play a low-frequency tone or a bass-heavy track and listen closely. If the bass sounds weak or inconsistent, try adjusting the phase until the low end sounds more solid and cohesive.
Room Tuning with SoundID Reference
Even after careful calibration, your room can still introduce unwanted coloration to your sound. This is where room-tuning software like SoundID Reference from Sonarworks comes in handy. This tool measures your room’s acoustic response and applies corrective EQ to your monitors, helping to flatten the frequency response and deliver a more accurate sound.
After calibrating your monitors and subwoofer, use SoundID Reference to analyze your room and apply the necessary adjustments. The result is a more neutral listening environment, allowing you to make better mixing decisions.
Final Thoughts
Proper studio monitor calibration and subwoofer integration are key to achieving the best possible sound in your studio. By carefully positioning your speakers, calibrating levels, aligning phase, and using tools like SoundID Reference for room tuning, you can ensure that your mixes translate well to other playback systems. For more in-depth information on monitor calibration, check out resources from Sound on Sound and Sonarworks.
Remember, every room is different, so take the time to experiment with your setup and make adjustments as needed to achieve the best sound possible.


Comments (0)